This article describes the steps to run NONRTRIC in Minikube using a VM created using Vagrant.
Vagrant is used to create the Ubuntu VM. Then an installation script is executed to bring up NONRTRIC in Minikube and provides the possibility to run the Kubertnetes GUI on your host machine (browser).
The installation script is basically the same as the steps described on this page: Deploy NONRTRIC in Minikube but with a few additions.
Prerequisite
Virtualbox. (Can be downloaded from this page Download Virtualbox)
Install Vagrant
Install the Vagrant SW from this page Download Vagrant
Prepare a dir for your VM
Open a terminal and go to the dir 'vagrant_home' created during the installation.
Create a dir, for example 'minikube'
Put the following Vagrantfile in that directory.
| Vagrantfile |
|---|
Vagrant.configure("2") do |config|
  config.vm.box = "generic/ubuntu1804"
  config.vm.provision "file", source: "install.sh", destination: "install.sh"
  config.vm.network "forwarded_port", guest_ip: "127.0.0.1", guest: 8001, host: 9080
end |
This file will create an Ubuntu VM, copy the install script to the VM and setup port forwarding to the kubernetes proxy in the VM.
To be able to run the R-App manager Mock outside the cluster, you need to mount the target directory so that the
helm command can see it like the R-App manager sees it.
Add this line, but replace the first argument with your actual path.
config.vm.synced_folder "/home/qpatbuh/src/nonrtric-prototyping/rapp-manager/target", "/home/vagrant/target"
In addition, if no nonrtric shall be deploy, comment out a few lines in middle of the install.sh below - see the part where the "it/dep" repo is cloned.
Put the following file in the same directory as the Vagrantfile. Make sure that indentation is preserved during copy.
| install.sh |
|---|
#!/bin/bash

# Script to run as root in a maiden Ubuntu VM in Vagrant. Will bring up Non-RT RIC in MiniKube, start the dashboard and proxy.
# NOTE: Do 'sudo su' before running the script

#Log all cmds to stdout
set -x

#Fetch and install docker
curl -fsSL https://get.docker.com -o get-docker.sh

sh get-docker.sh

#Install conntrack
apt-get install conntrack

#Install socat
apt install socat

#Fetch and install minikube
curl -Lo minikube https://storage.googleapis.com/minikube/releases/latest/minikube-linux-amd64 \
 && chmod +x minikube

mkdir -p /usr/local/bin/

install minikube /usr/local/bin/

#Start minikube
minikube start --vm-driver=none

#Fetch and install kubectl

curl -LO https://storage.googleapis.com/kubernetes-release/release/`curl -s https://storage.googleapis.com/kubernetes-release/release/stable.txt`/bin/linux/amd64/kubectl

chmod +x ./kubectl

mv ./kubectl /usr/local/bin/kubectl

kubectl version --client #Just print the version

#Fetch helm 3
curl -fsSL -o get_helm.sh https://raw.githubusercontent.com/helm/helm/master/scripts/get-helm-3
chmod 700 get_helm.sh
./get_helm.sh

#Create the service account
cat > tiller-serviceaccount.yaml << EOF
apiVersion: v1
kind: ServiceAccount
metadata:
 name: tiller
 namespace: kube-system
---
kind: ClusterRoleBinding
apiVersion: rbac.authorization.k8s.io/v1beta1
metadata:
 name: tiller-clusterrolebinding
subjects:
- kind: ServiceAccount
  name: tiller
  namespace: kube-system
roleRef:
 kind: ClusterRole
 name: cluster-admin
 apiGroup: ""
EOF

kubectl create -f tiller-serviceaccount.yaml

#Fetch and deploy the metrics server
kubectl apply -f https://github.com/kubernetes-sigs/metrics-server/releases/download/v0.3.7/components.yaml
kubectl get deployment metrics-server -n kube-system

#Fetch and deploy the kubernetes dashboard
kubectl apply -f https://raw.githubusercontent.com/kubernetes/dashboard/v2.0.2/aio/deploy/recommended.yaml
kubectl delete clusterrolebinding kubernetes-dashboard
kubectl create clusterrolebinding kubernetes-dashboard --clusterrole=cluster-admin --serviceaccount=kube-system:kubernetes-dashboard --user=clusterUser

#Run helm
helm init --service-account tiller --upgrade


#Clone dep repo and deploy nonrtric components
################################################
## Decomment the following lines
## to install nonrtric (can also be done later)
################################################
#git clone "https://gerrit.o-ran-sc.org/r/it/dep"
#cd dep/bin
#./deploy-nonrtric -f ../nonrtric/RECIPE_EXAMPLE/example_recipe.yaml
#cd ../..

#Create an account for login to the dashboard
cat > eks-admin-service-account.yaml << EOF
apiVersion: v1
kind: ServiceAccount
metadata:
 name: eks-admin
 namespace: kube-system
---
apiVersion: rbac.authorization.k8s.io/v1beta1
kind: ClusterRoleBinding
metadata:
 name: eks-admin
roleRef:
 apiGroup: rbac.authorization.k8s.io
 kind: ClusterRole
 name: cluster-admin
subjects:
- kind: ServiceAccount
  name: eks-admin
  namespace: kube-system
EOF

#Apply the account
kubectl apply -f eks-admin-service-account.yaml
#Create serviceaccount and clusterrolebinding and patch the tiller-deployment to user service account. kubectl create serviceaccount --namespace kube-system tiller kubectl create clusterrolebinding tiller-cluster-rule --clusterrole=cluster-admin --serviceaccount=kube-system:tiller kubectl patch deploy --namespace kube-system tiller-deploy -p '{"spec":{"template":{"spec":{"serviceAccount":"tiller"}}}}'
#Print the 'secret' token. Needed for login from the browser on the host
kubectl -n kube-system describe secret $(kubectl -n kube-system get secret | grep eks-admin | awk '{print $1}')

#Start the proxy so the dashboard can be accessed from the host machine
kubectl proxy
|
Set execution mode on the file.
chmod u+x install.sh
Start the VM and install
Start the VM
vagrant up
Login to the VM
vagrant ssh
Switch to root
sudo su
Run the installation script
./install.sh
Take note of the token printed just before the proxy is started in the end. This token is used when logging in from the browser.
A running VM shall now be visible in the Virtualbox GUI.
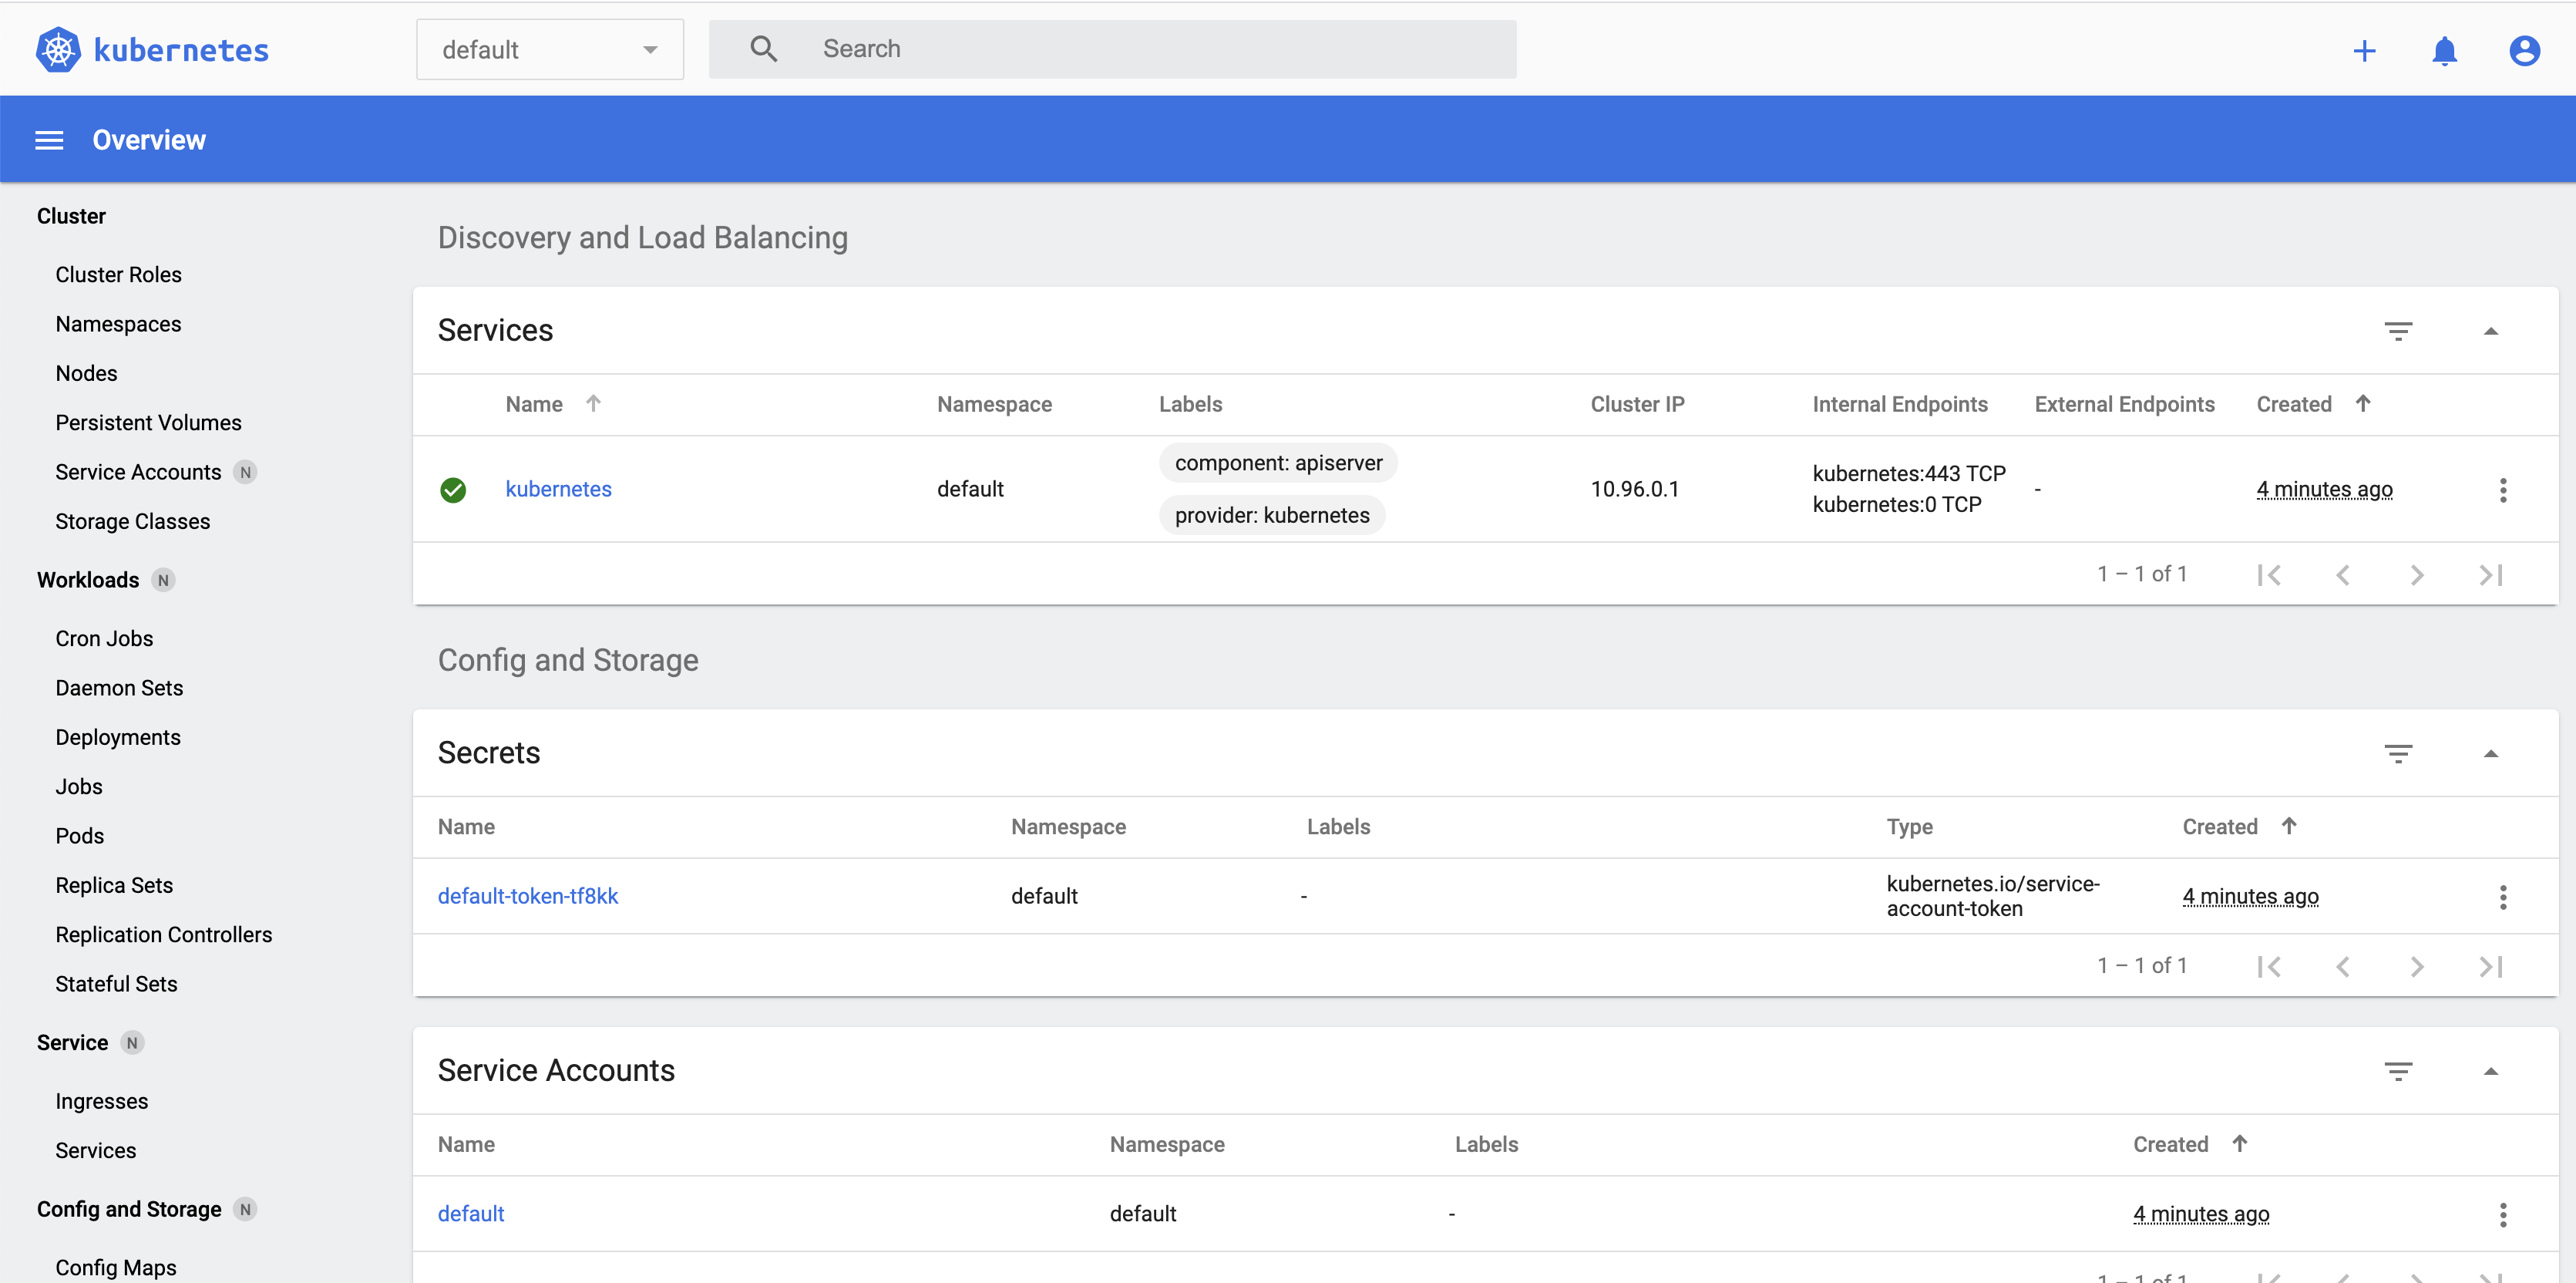
Open the Kubernetes Dashboard - GUI
On you host machine, open the this url http://localhost:9080/api/v1/namespaces/kubernetes-dashboard/services/https:kubernetes-dashboard:/proxy/#!/login
Log in using the token printed during the installation in the previous section. (If the VM is removed and re-installed you might need to sign out from the GUI before being able to login using a new token)
You should then see this
Remove/re-install the VM
The VM can be removed at any time
In the dir for your VM do:
vagrant destroy
After this it is possible to start again from the section "Start the VM and install". Or from the section "Prepare a dir for your VM" if the script or config need to be changed.
Alternative to Deploy NONRTRIC in Minikube
There is an alternative way, described in the procedure below to run NonRT-RIC kubenetes cluster in Minikube running on Oracle Virtual Box with Ubuntu 22.04.
Via an installation script that brings up Minikube and allow to deploy NonRT-RIC cluster on it. Besides, the Kubernetes GUI could be started to see overall deployment.
Prerequisite
VirtualBox version 6.1. (Can be downloaded from this page Download VirtualBox)
Install Ubuntu 22.04
Ubuntu version 22.04. (Can be downloaded from this page Download Ubuntu)
Install Minikube
#!/bin/bash

# Script to run as root in Ubuntu 22.04 running on Oracle Virtual Box.
# This will bring up MiniKube running. For further Non-RT RIC installation, the related block must uncomment and run.
# NOTE: Do 'sudo su' before running the script
# NOTE: Before start to installation, ensure that Curl, Git and Wget are ready to use!

###Log all cmds to stdout###
set -x

###Fetch and install Docker###
curl -fsSL https://get.docker.com -o get-docker.sh

sh get-docker.sh

###Install Conntrack###
apt-get install conntrack

###Install Socat###
apt install socat

###Install GO Lang###
wget https://storage.googleapis.com/golang/getgo/installer_linux
chmod +x ./installer_linux
./installer_linux
source ~/.bash_profile

###Install cri-dockerd###
git clone https://github.com/Mirantis/cri-dockerd.git
cd cri-dockerd
mkdir bin
go build -o bin/cri-dockerd
mkdir -p /usr/local/bin
install -o root -g root -m 0755 bin/cri-dockerd /usr/local/bin/cri-dockerd
cp -a packaging/systemd/* /etc/systemd/system
sed -i -e 's,/usr/bin/cri-dockerd,/usr/local/bin/cri-dockerd,' /etc/systemd/system/cri-docker.service
systemctl daemon-reload
systemctl enable cri-docker.service
systemctl enable --now cri-docker.socket
cd ..

###Install Crictl###
VERSION="v1.25.0"
wget https://github.com/kubernetes-sigs/cri-tools/releases/download/$VERSION/crictl-$VERSION-linux-amd64.tar.gz
sudo tar zxvf crictl-$VERSION-linux-amd64.tar.gz -C /usr/local/bin
rm -f crictl-$VERSION-linux-amd64.tar.gz

###Fetch and install Minikube###
curl -Lo minikube https://storage.googleapis.com/minikube/releases/latest/minikube-linux-amd64 \
 && chmod +x minikube
mkdir -p /usr/local/bin/
install minikube /usr/local/bin/

###Fetch and install Kubectl###
curl -LO https://storage.googleapis.com/kubernetes-release/release/`curl -s https://storage.googleapis.com/kubernetes-release/release/stable.txt`/bin/linux/amd64/kubectl
chmod +x ./kubectl
mv ./kubectl /usr/local/bin/kubectl
kubectl version --client #Just print the version

###Fetch Helm 3###
curl -fsSL -o get_helm.sh https://raw.githubusercontent.com/helm/helm/master/scripts/get-helm-3
chmod 700 get_helm.sh
./get_helm.sh

###exit root###
exit

###Add user to docker group###
sudo usermod -aG docker $USER && newgrp docker
Start Minikube
###Start minikube###
minikube start

###Check status###
$ minikube status


$ kubectl get pods -n kube-system
Open the Kubernetes Dashboard
###Start dashboard###
$ minikube dashboard