Introduction
MinIO supports using an OpenID Connect (OIDC) compatible IDentity Provider (IDP) such as Keycloak.
This feature can be enabled by adding the following environment variables to your Minio deployment.
export MINIO_IDENTITY_OPENID_CONFIG_URL="https://openid-provider.example.net/.well-known/openid-configuration"
export MINIO_IDENTITY_OPENID_CLIENT_ID="<string>"
export MINIO_IDENTITY_OPENID_CLIENT_SECRET="<string>"
export MINIO_IDENTITY_OPENID_CLAIM_NAME="<string>"
export MINIO_IDENTITY_OPENID_CLAIM_PREFIX="<string>"
export MINIO_IDENTITY_OPENID_SCOPES="<string>"
export MINIO_IDENTITY_OPENID_REDIRECT_URI="<string>"
export MINIO_IDENTITY_OPENID_COMMENT="<string>"
Only MINIO_IDENTITY_OPENID_CONFIG_URL is mandatory.
Minio Setup
This yaml file minio.yaml has the environment setup as follows:
        env:
        - name: MINIO_ROOT_USER
          value: minio
        - name: MINIO_ROOT_PASSWORD
          value: minio123
        - name: MINIO_IDENTITY_OPENID_CONFIG_URL
          value: http://keycloak:8080/realms/minio/.well-known/openid-configuration
        - name: MINIO_IDENTITY_OPENID_CLIENT_ID
          value: minio-cli
        - name: MINIO_IDENTITY_OPENID_CLIENT_SECRET
          value: YVZGoUdprHmqexlX30stzGWwZtT2SNll
        - name: MINIO_IDENTITY_OPENID_CLAIM_NAME
          value: policy
        - name: MINIO_IDENTITY_OPENID_CLAIM_PREFIX
          value: ""
        - name: MINIO_IDENTITY_OPENID_REDIRECT_URI
          value: http://minio:9001/oauth_callback
Keycloak Setup
Go to the keycloak UI and create a new realm called "minio".
Next create a client called "minio-cli"
Set client Authentication to "On"
Check "Service account roles"
Set "Valid Redirect URIs" to the address of you minio server e.g http://minio:9001/oauth_callback (for this to work with minikube you need to add an alias of minio for you localhost in your windows hosts file before starting "minikube tunnel")
Set "Web Origins" to *
Once the client has been created go to "Client Scopes" → "minio-cli-dedicated"
Click on the "Add Mapper" →"By Configuration" → "Hardcoded Claim"
Give the claim a name e.g Policy Claim
The "Token Claim Name" should be set to policy
"Claim value" should be set to one or more of the following predefined vales (seperated by a comma):
consoleAdmin
diagnostics
readonly
readwrite
writeonly
or one of your own custom polices you have already setup in minio (see Minio Policies below).
Lastly make sure "Add to access token" and "Add to ID token" are turned on.
The value or values you use here will determine your access right to minio.
Then go to "Advanced" →"Advanced Setting" and change the access token lifespan to 1 hour. (Clients using the "AssumeRoleWithClientGrants" require a minimum "DurationSeconds" of 3600)
Lastly set up a user with a permanent password you can login with.
Go back to you minio setup and update the environment variables in your deployment so they match what you have in Keycloak e.g. client secret
Minio Policies
You can create you own policy by copying one of the existing policies and modifying it to suit your needs.
e.g.
{
    "Version": "2012-10-17",
    "Statement": [
        {
            "Effect": "Allow",
            "Action": [
                "s3:PutObject"
            ],
            "Resource": [
                "arn:aws:s3:::camel-source*"
            ]
        }
    ]
}
The user with this policy will have write access to the "camel-source" bucket.
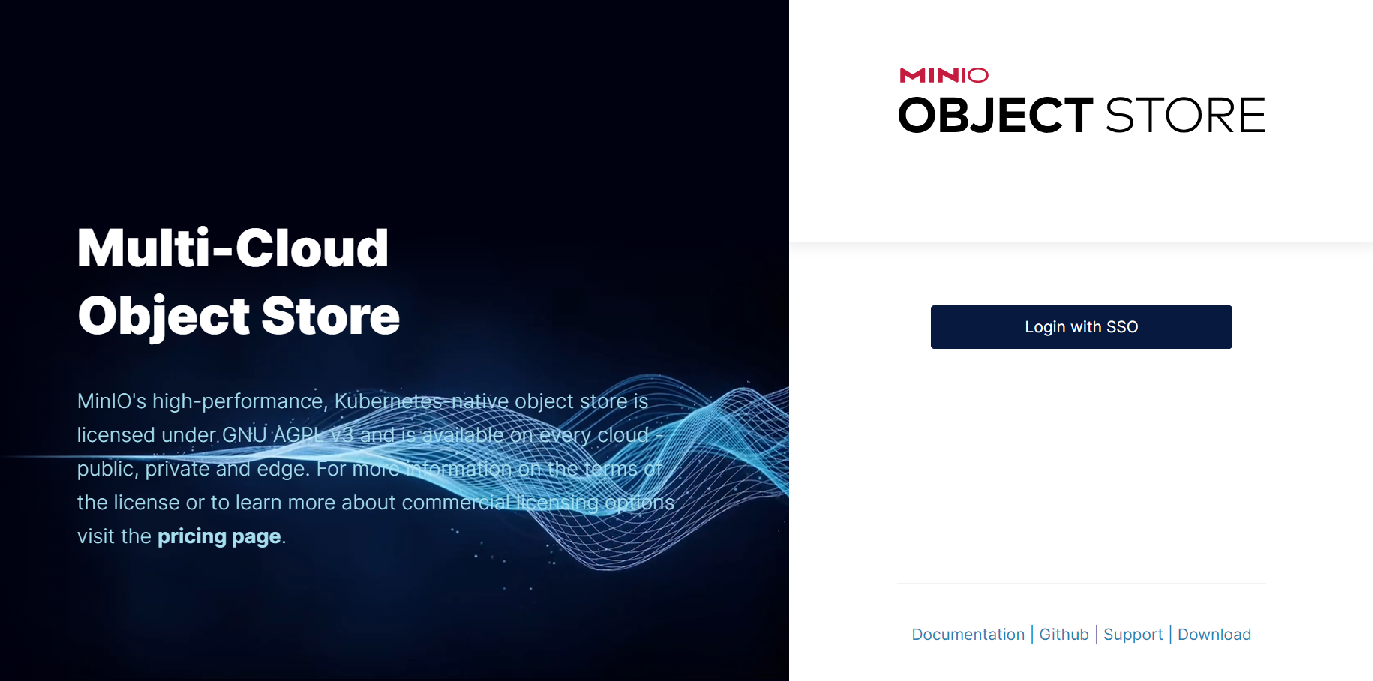
SSO Login
When you go to the Minio URL you will see the "Login with SSO" button
When you click on the button you will redirected to the Keylocak login screen
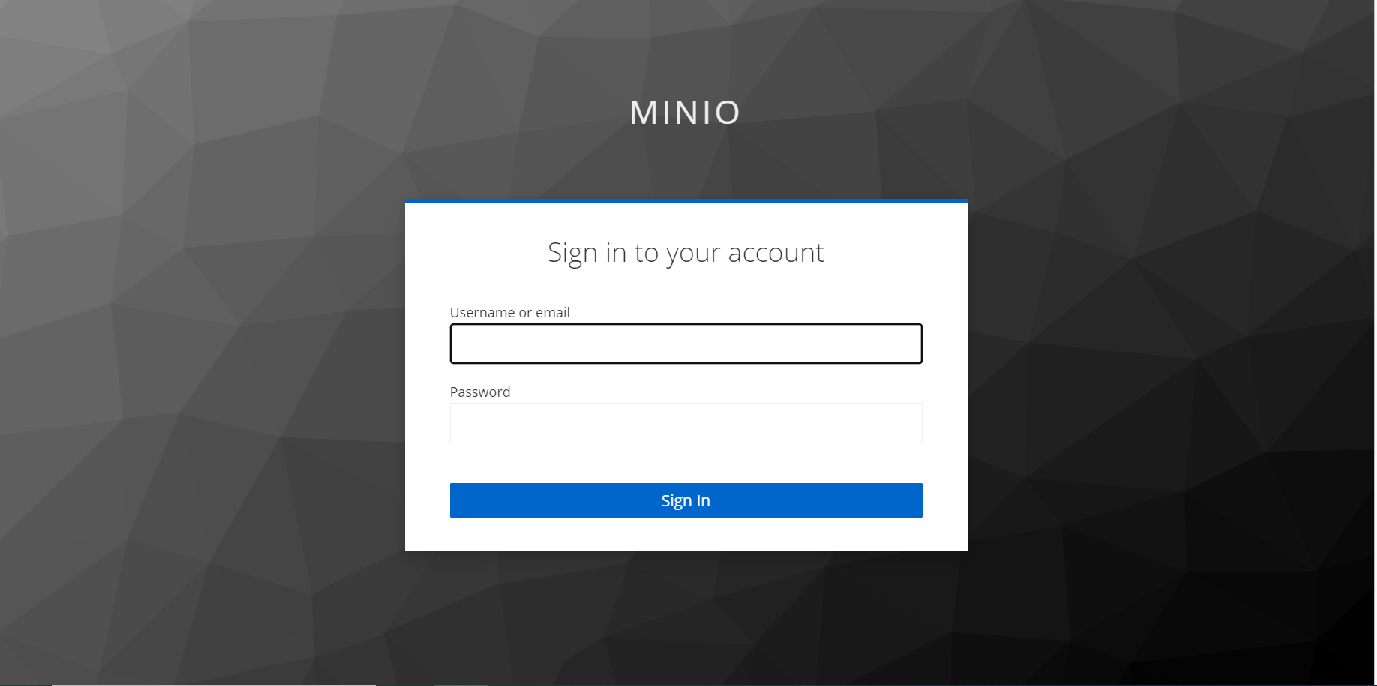
Login with the Keycloak user you created earlier to access the Minio console.
What is displayed in the console will depend on what value you assigned to policy in the Keycloak mapper.
"consoleAdmin" will give you full access where as the other policies are more restrictive.
In this case we are using the built-in redirect_url that comes with Minio - http://minio:9001/oauth_callback
You can redirect to a different URL if you like if you want to see what's going on under the hood.
Minio provides a go program for doing this: web-identity.
You can compile this and create a docker file to run it in your cluster.
Use the following yaml file to deploy it: web-identity.yaml
Make sure to change your redirect_url in both Keycloak and Minio to point to your new container.
Minio Clients
Once Mnio/Keycloak has been setup you can create a client to obtain an access token from keycloak and use the temporary access key and secret to work with Minio.
The following is an example python program that creates a bucket and uploads a file;
#!/usr/bin/python3
from keycloak import KeycloakOpenID
import requests
import xmltodict
from minio import Minio
from minio.error import (ResponseError, BucketAlreadyOwnedByYou, BucketAlreadyExists)
import uuid
import io

def get_token():
   # Configure client
   keycloak_openid = KeycloakOpenID(server_url="http://keycloak:8080",
                                    client_id="minio-cli",
                                    realm_name="minio",
                                    client_secret_key="YVZGoUdprHmqexlX30stzGWwZtT2SNll")
   return keycloak_openid.token(grant_type='client_credentials')

def get_credentials():
   token = get_token()
   r = requests.post("http://minio:9000",
                     data={
                         'Action': "AssumeRoleWithWebIdentity",
                         'Version': "2011-06-15",
                         'WebIdentityToken': token['id_token'],
                         'DurationSeconds': token['expires_in']
                     })
   tree = xmltodict.parse(r.content)
   return dict(tree['AssumeRoleWithWebIdentityResponse']['AssumeRoleWithWebIdentityResult']['Credentials'])

# Retrieve credenstials
credenstials = get_credentials()

# Initialize Minio client
client = Minio(
        "minio:9000",
        access_key=credenstials['AccessKeyId'],
        secret_key=credenstials['SecretAccessKey'],
        session_token=credenstials['SessionToken'],
        secure=False,
        region=None,
        http_client=None,
        credentials=None
)

# Create bucket if it doesn't already exist
print("Create Bucket")
print("-------------")
bucket_name = "py-bucket"
found = client.bucket_exists(bucket_name)
if not found:
    client.make_bucket(bucket_name)
    print(f"Bucket '{bucket_name}' created")
else:
    print(f"Bucket '{bucket_name}' already exists")

buckets = client.list_buckets()

# Retrieve list of buckets
print("\nBucket List")
print("-----------")
for bucket in buckets:
    print(f"{bucket.name} created on {bucket.creation_date}")

# Upload an object to a bucket
data = "I want to stream some data to minio"
object_bytes = data.encode('utf-8')
object_stream = io.BytesIO(object_bytes)
object_name =  f"{uuid.uuid1()}.txt"

print("\nUpload To Bucket")
print("----------------")
try:
    client.put_object(bucket_name, object_name, object_stream , len(object_bytes))
    print(f"{object_name} uploaded to {bucket_name}")
except Exception as ex:
    raise ex
Sample output:
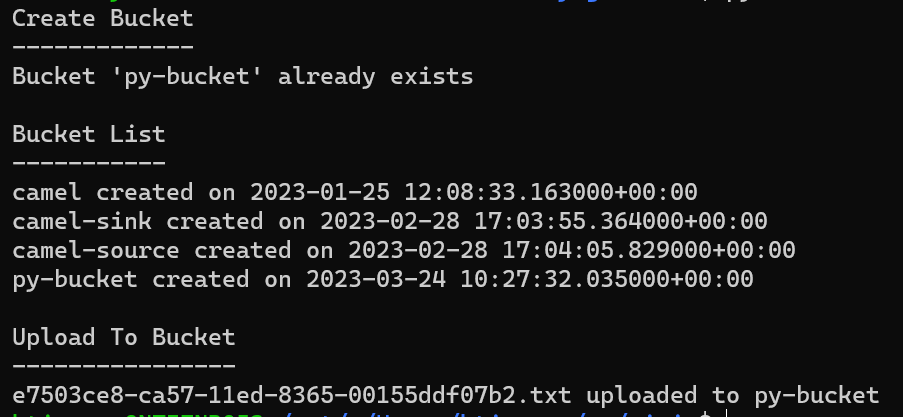
A similar program written in go is available here: Minio Go Client
Keycloak over SSL
If you are using keycloak over SSL you'll need to copy the CA certifcate for keycloak in to the /root/.minio/certs/CAs directory.
This is required so Minio can read the keycloak endpoints over https.
You can create a secret to store and CA and then mount it in the /root/.minio/certs/CAs directory
kubectl create secret generic keycloak-ca-secret --from-file=keycloak-ca.crt=rootCA.crt
Minio SSE (Server Side Encryption)
MinIO SSE uses Key Encryption Service (KES) to secure objects at the storage layer.
We can test this using the KMS server at play.min.io
Download the root.key and root.cert fom the play.min.io server:
curl -sSL --tlsv1.2 -O 'https://raw.githubusercontent.com/minio/kes/master/root.key' -O 'https://raw.githubusercontent.com/minio/kes/master/root.cert'
Use these to create a secret, mount the secret in the pod, then setup some environment variables to enable SSE.
apiVersion: v1
kind: Secret
metadata:
  name: kms-ssl
  namespace: default
type: kubernetes.io/tls
data:
  tls.crt: LS0tLS1CRUdJTiBDRVJUSUZJQ0FURS0tLS0tCk1JSUJLRENCMjZBREFnRUNBaEI2dmViR01VZktubUJLeXFvQXBSU09NQVVHQXl0bGNEQWJNUmt3RndZRFZRUUQKREJCeWIyOTBRSEJzWVhrdWJXbHVMbWx2TUI0WERUSXdNRFF6TURFMU1qSXlOVm9YRFRJMU1EUXlPVEUxTWpJeQpOVm93R3pFWk1CY0dBMVVFQXd3UWNtOXZkRUJ3YkdGNUxtMXBiaTVwYnpBcU1BVUdBeXRsY0FNaEFMem43MzVXCmZtU0gvZ2hLcys0aVBXemlaTW1XZGlXci9zcXZxZVcrV3dTeG96VXdNekFPQmdOVkhROEJBZjhFQkFNQ0I0QXcKRXdZRFZSMGxCQXd3Q2dZSUt3WUJCUVVIQXdJd0RBWURWUjBUQVFIL0JBSXdBREFGQmdNclpYQURRUURaT3JHSwpiMkFUa0RsdTJwVGNQM0x5aFNCRHBZaDdWNFR2alJrQlRSZ2prYWNDendGTG0rbWgrN1VTOFY0ZEJwSURzSjR1CnVXb0YweTZ2YkxWR0lsa0cKLS0tLS1FTkQgQ0VSVElGSUNBVEUtLS0tLQo=
  tls.key: LS0tLS1CRUdJTiBQUklWQVRFIEtFWS0tLS0tCk1DNENBUUF3QlFZREsyVndCQ0lFSUQ5RTdGU1lXck1EK1ZqaEk2cTU0NWNZVDlZT3lGeFpiN1VuakVlcFlEUmMKLS0tLS1FTkQgUFJJVkFURSBLRVktLS0tLQo=
---
        env:
        - name: MINIO_KMS_KES_ENDPOINT
          value: https://play.min.io:7373
        - name: MINIO_KMS_KES_CERT_FILE
          value: /etc/kms/ssl/tls.crt
        - name: MINIO_KMS_KES_KEY_FILE
          value: /etc/kms/ssl/tls.key
        - name: MINIO_KMS_KES_KEY_NAME
          value: my-first-key
        volumeMounts:
        - mountPath: "/etc/kms/ssl"
          name: kms-ssl
          readOnly: true
      volumes:
      - name: kms-ssl
        secret:
          secretName: kms-ssl
Check the encryption has been enabled by running the following command:
mc admin kms key status <minio alias>
Key: my-first-key
   - Encryption ✔
   - Decryption ✔
Create a bucket on your minio server and upload a file to it: mc cp test.txt myminio/encrypt
Run the following command to check the file has been encrypted:
mc stat myminio/encrypt/test.txt
Name      : test.txt
Date      : 2023-04-11 15:24:48 IST
Size      : 13 B
ETag      : 8c3be95b9d3517d5b9e5d699f2692437
Type      : file
Metadata  :
  Content-Type: text/plain
Encrypted :
  X-Amz-Server-Side-Encryption-Aws-Kms-Key-Id: arn:aws:kms:my-first-key
  X-Amz-Server-Side-Encryption               : aws:kms
If you try to view the file on the hard drive you will see the following:
cat test.txt/xl.meta
XL2 ��$���T�l[��8����!�䃤Type�V2Obj��ID��DDir���|C�\DBO8�EcAlgo�EcM�EcN�EcBSize��EcIndex�EcDist��CSumAlgo�Pa�Size-�MTime�T�l[��8�MetaSys��x-minio-internal-inline-data�true�9X-Minio-Internal-Server-Side-Encryption-S3-Kms-Sealed-KeyĴlbFBRVMyNTYtR0NNX1NIQTI1NtkgNmRlYWM3N2QxYTM4OWViMGUyOGQ3OWFmMTg1NTRkYTPEEPO6T631t4/N7XQ6Fe/F06zEDBPSiv8jcucioK+AuMQwiSKMoCs6ccJ3OAFoeHJ+5N1gWwaBaMaL18JNXXfQVaHb8ed9Gj6W566lXcDMpWTd�6X-Minio-Internal-Server-Side-Encryption-Seal-Algorithm�DAREv2-HMAC-SHA256�*X-Minio-Internal-Server-Side-Encryption-Iv�,7TMvCi8frGGEx7qFSmJyL/xSoPJsom2E3eN8AaVwcD0=�6X-Minio-Internal-Server-Side-Encryption-Kms-Sealed-Key�XIAAfALq9UzWoSFkk3jZ3aCUso5gjvB0NymrfanM91hRx09V1vaJW4BsO82NXMH+RLm7ChfM1ErG6Ya6ABIb3EQ==�5X-Minio-Internal-Server-Side-Encryption-S3-Kms-Key-Id�
        my-first-key�MetaUsr��content-type�text/plain�etag�`20000f00f4a8e3628e7f7f3823c26a0b9d4fb2526422ea3dbdedbc64a63d607664f3e7c390bf8fe75eadded80909e086�v�c����&@�.��null�M�2;Z        �����ݘ�
                                                               ��� ��x8��)���
                                                                                �5�c:L������s~�#C�r*i�UR�@bPdocker@minikube:/
Links
Configure MinIO for Authentication using OpenID
Minio/Keycloak Quickstart Guide
Server-Side Object Encryption with Hashicorp Vault Root KMS