Software licensing is managed on a repo by repo basis. That is, each repo can only host code under one license. There is no mix. Repos whose names starting with "scp/" host code under the O-RAN Software license; all other repos host Apache 2 code. To make contribution to a Gerrit repo, a contributor must agree to the repo's license by signing the corresponding Contributor License Agreement (CLA). The details of how these two licenses are used and what they are can be found here: https://www.o-ran.org/software.
This page explains how to sign to sign the Contributor License Agreement (CLA).
- After login to gerrit.o-ran-sc.org , clicking on the the user name at the top-right corner of the page.
- On the left list, click on "Agreements".
- Already agreed agreements are listed here.
- Clicking on "New Contributor Agreement" to sign a new agreement.
- On the next page, select the CLA to sign
- Four CLAs are listed here.
- Gerrit name: "CCLA - O-RAN Software Community (ORAN-SC)" (note how it mentions "Apache 2" in the comment text). This is the same as this name in EasyCLA: "CCLA - ORAN OSS": This is corporate CLA for the Apache 2 license
- Gerrit name: "CCLA - O-RAN Specification Code Project (ORAN-SCP)" (note how it mentions "O-RAN Software License" in the comment text). This is the same as this name in EasyCLA: "CCLA - ORAN-SC Association": This is corporate CLA for the O-RAN Software license.
- ICLA - ORAN OSS: This is individual CLA for the Apache 2 license.
- ICLA - ORAN-SC Association: This is individual CLA for the O-RAN Software license.
- If making contribution under a member company, select the appropriate CCLA (Corporate CLA). Depending on your company's policy you may have to only acknowledge your affiliation with the company as part of the CCLA steps, or additionally you may also be asked to sign an individual CLA during the process.
- Select the CLA to sign, then click on the new link appearing at the bottom of the page: "Please review the agreement".
- Four CLAs are listed here.
- This step is a bit confusing. After being redirected to a new page you will see the following misleading message. This is okay, just click on the message: "Thank you. Unfortunately, your account is not authorized under a signed CLA. Please click here to proceed."
- On the next page, you will see a list of companies that already registered for the CLA platform. Click on your company.
- One the next page,
- The sunny day scenario: if your company CLA manager has already signed the Corporate CLA and your email address already whitelisted, you should see a pop-up similar to below. In this case, check "I agree" then click on "Continue".
- If you see a pop-up box saying "Company has not signed a CCLA", it means that your company's CLA Manager has not signed the document yet. Please contact your company CLA Manager. If you do not know who your company CLA manager is, drop me an email at lji@research.att.com.
- If you see a pop-up box saying "Your email address is not associated with the company, contact your CLA Manager", well, email your CLA manager and ask her/him to whitelist the email address you use for the LF ID.
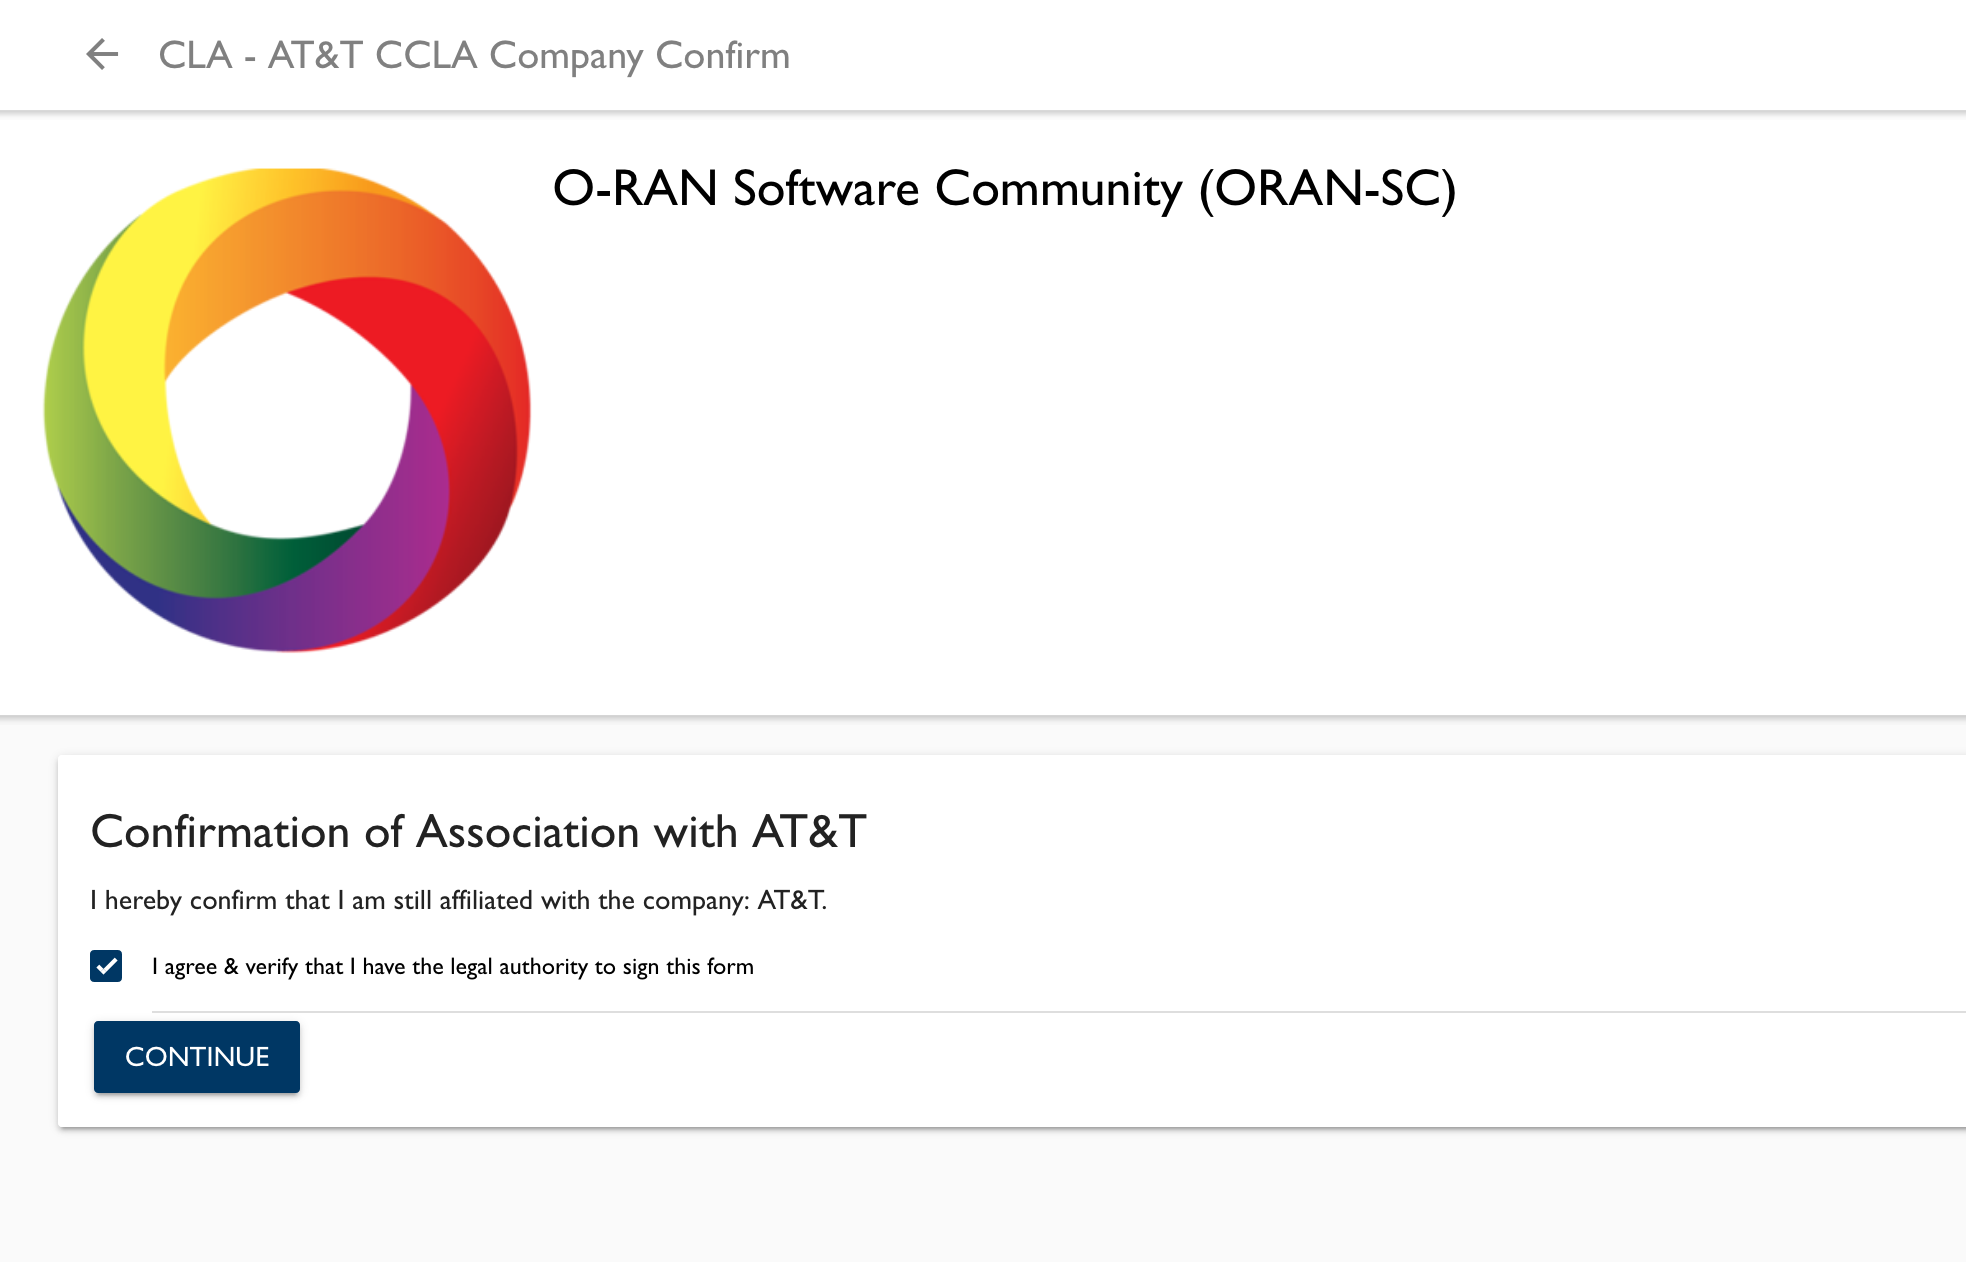
- After completing step 6.a, the corporate CLA is acknowledged (it was already signed by your company's CLA Manager or signature authority). Here you only need to acknowledge that you are affiliated with the company. Depending on your company's policy you might still have to sign additionally an ICLA. (7a) If so, the system will display a new window asking you to sign the individual CLA and you must continue with step 8. (7b) If your company does not require a ICLA to be signed in addition to the company CLA, then you get a message saying "You are done". If so, proceed with step 11.
- Click on the "Open ICLA" button.
- If the redirect to Individual CLA does not happen automatically, repeats steps 1 to 3, then click on ICLA of choice to proceed.
- You will now be directed to a 3-rd party "docusign.net" for digitally signing the agreement. Follow the instructions and complete this step.
- An email with the signed ICLA document will be sent to your email address.
- Now you can check the CLAs that you just signed by logging out of the gerrit.o-ran-sc.org web site, then log back in. At the same place where we started (Settings -> Agreements), you will see the updated list of the signed CLAs and be ready for making code contributions.
If needed to, repeats steps 1 - 10 for the second license.
Additional Linux Foundation documentation for the CLA system can be found here: https://docs.linuxfoundation.org/lfx/easycla