1 Installation for the first server from the O-RAN INF ISO image
- Please see the README.md file for how to build the image.
- The Image is a live ISO image with CLI installer: inf-image-aio-installer-intel-corei7-64.iso (https://nexus.o-ran-sc.org/content/sites/images/org/o-ran-sc/pti/rtp/latest/inf-image-aio-installer-intel-corei7-64.iso)
1.1 Burn the image to the USB device
- Assume the the usb device is /dev/sdX here
- $ sudo dd if=/path/to/inf-image-aio-installer-intel-corei7-64.iso of=/dev/sdX bs=1M
1.2 Install the first Dell-R740 server (controller-0)
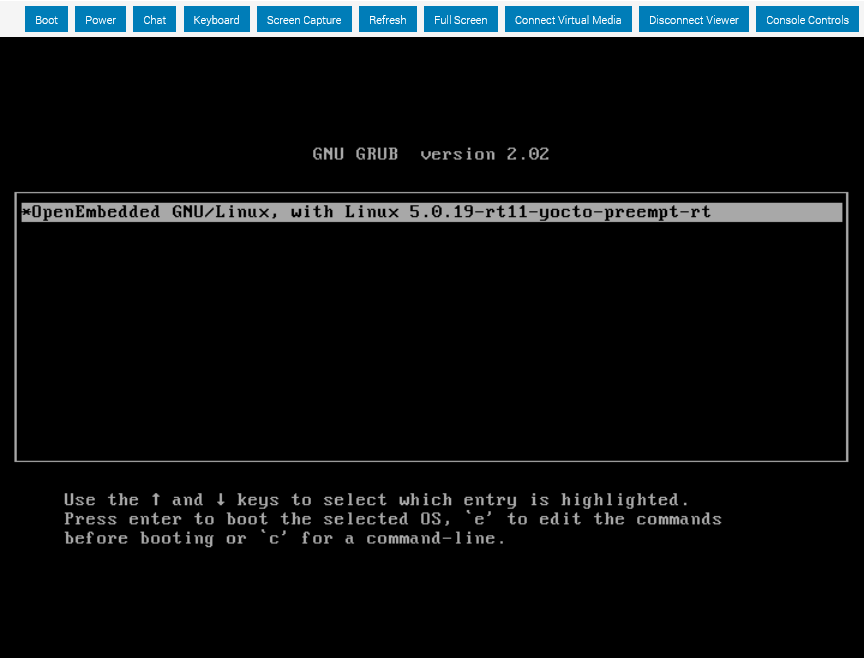
- Reboot the target from the USB device.
...
- It will reboot aotumatically after installation
2 Configuration and initialize the bootstrap
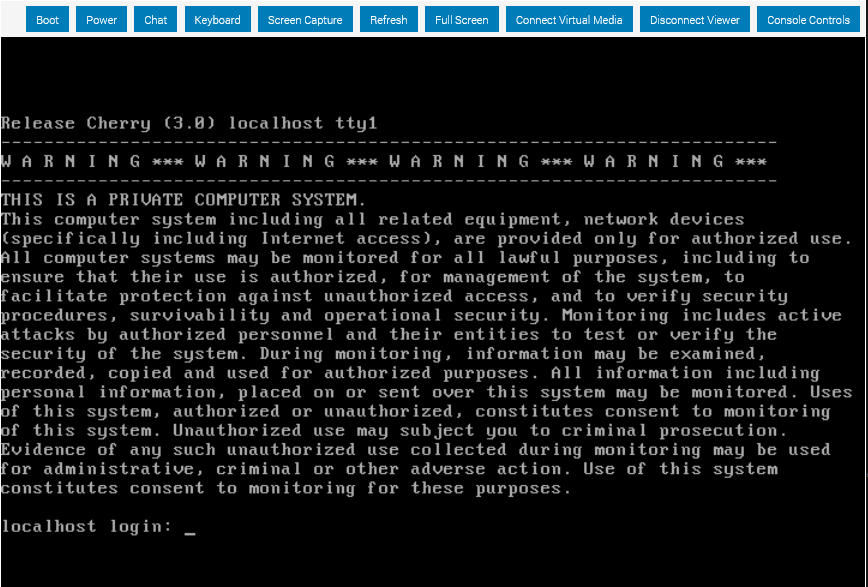
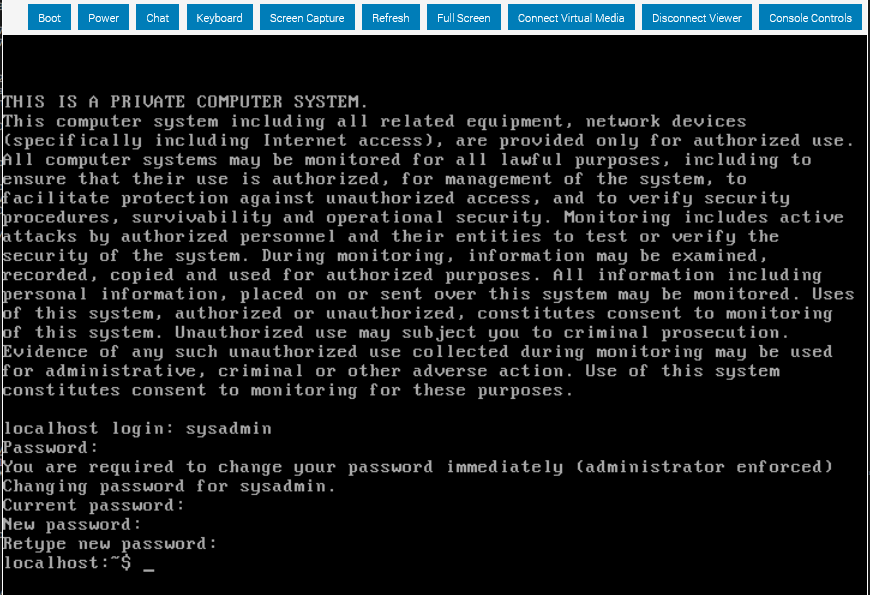
2.1 First Login with "sysadmin/sysadmin" and change password
2.2 Set OAM network before bootstrap
export OAM_DEV=eno3
export CONTROLLER0_OAM_CIDR=128.224.210.110/24
...
sudo ip route add default via $DEFAULT_OAM_GATEWAY dev $OAM_DEV
2.3 Login the server through SSH with "sysadmin"
2.4 Prepare the localhost.yml for bootstrap
cat << EOF > localhost.yml
...
external_oam_node_1_address: 128.224.210.112
EOF
2.5 Run the ansible bootstrap
ansible-playbook /usr/share/ansible/stx-ansible/playbooks/bootstrap.yml -vvv
After the bootstrap successfully finish, it will show as following:

2.6 Congiure controller-0
- Acquire admin credentials:
...
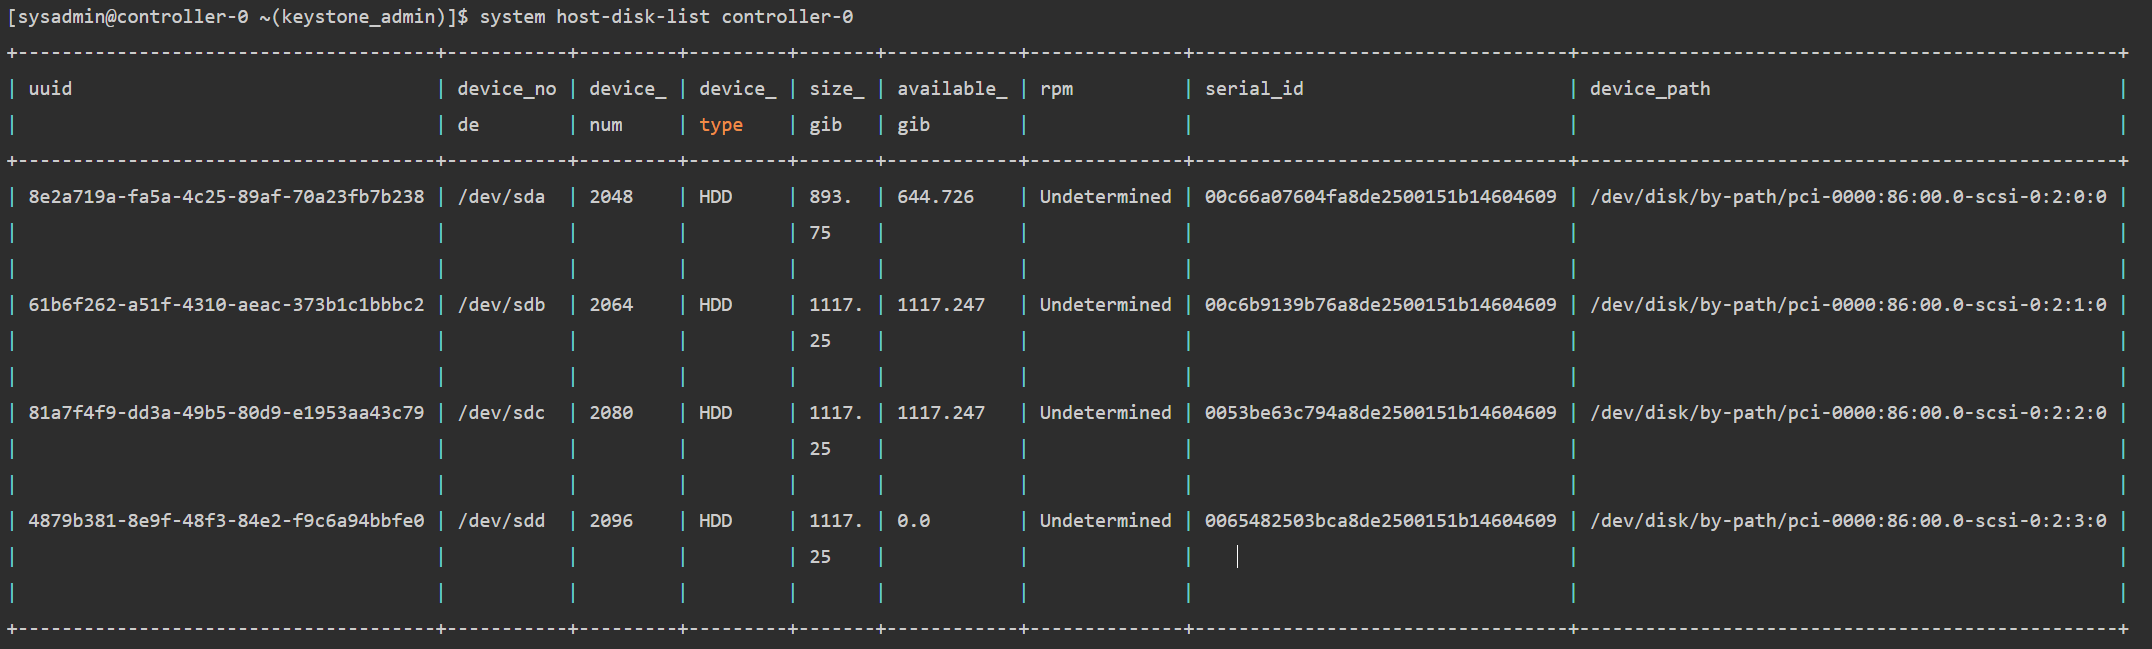
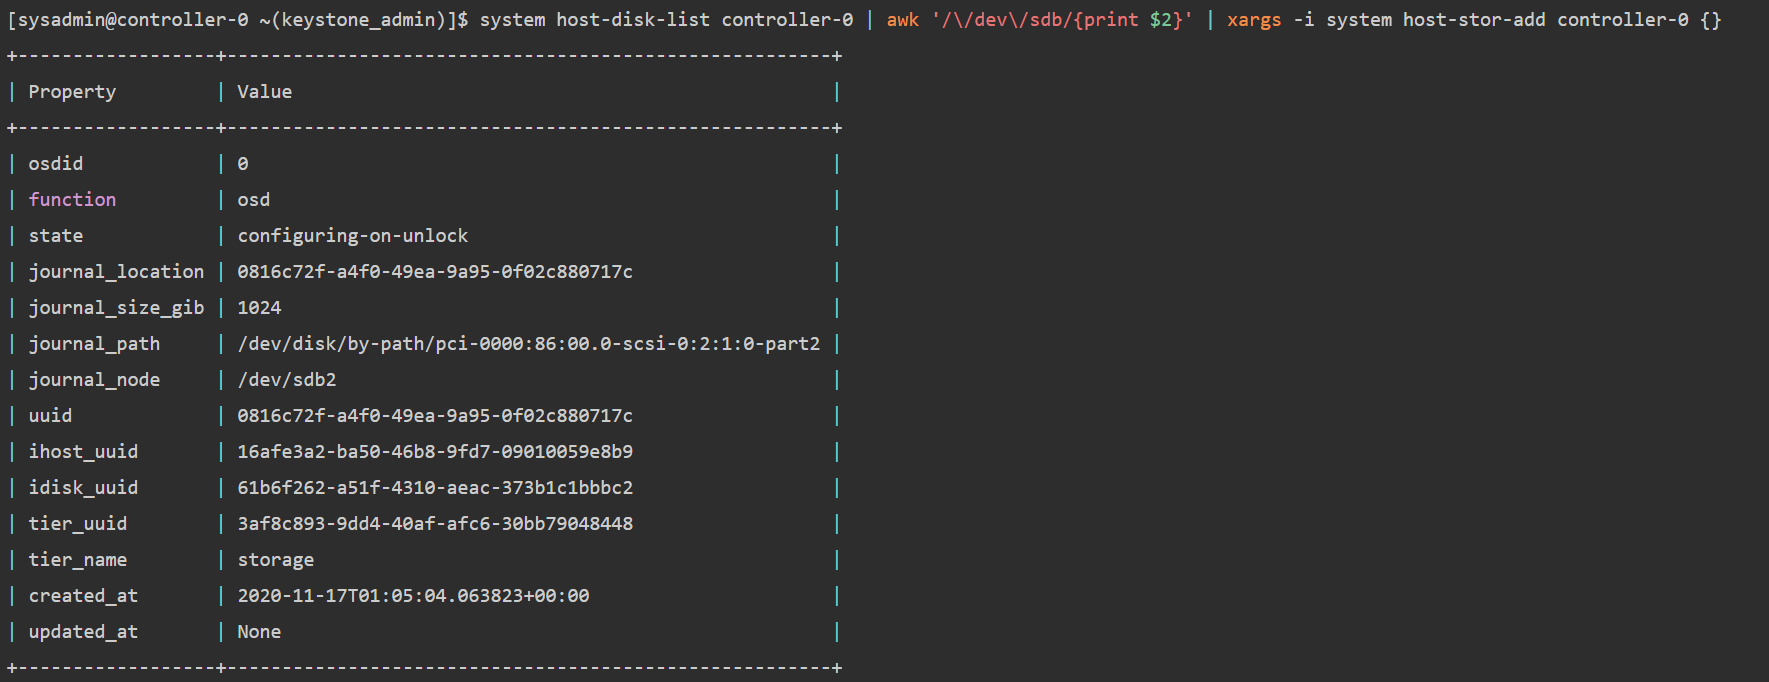
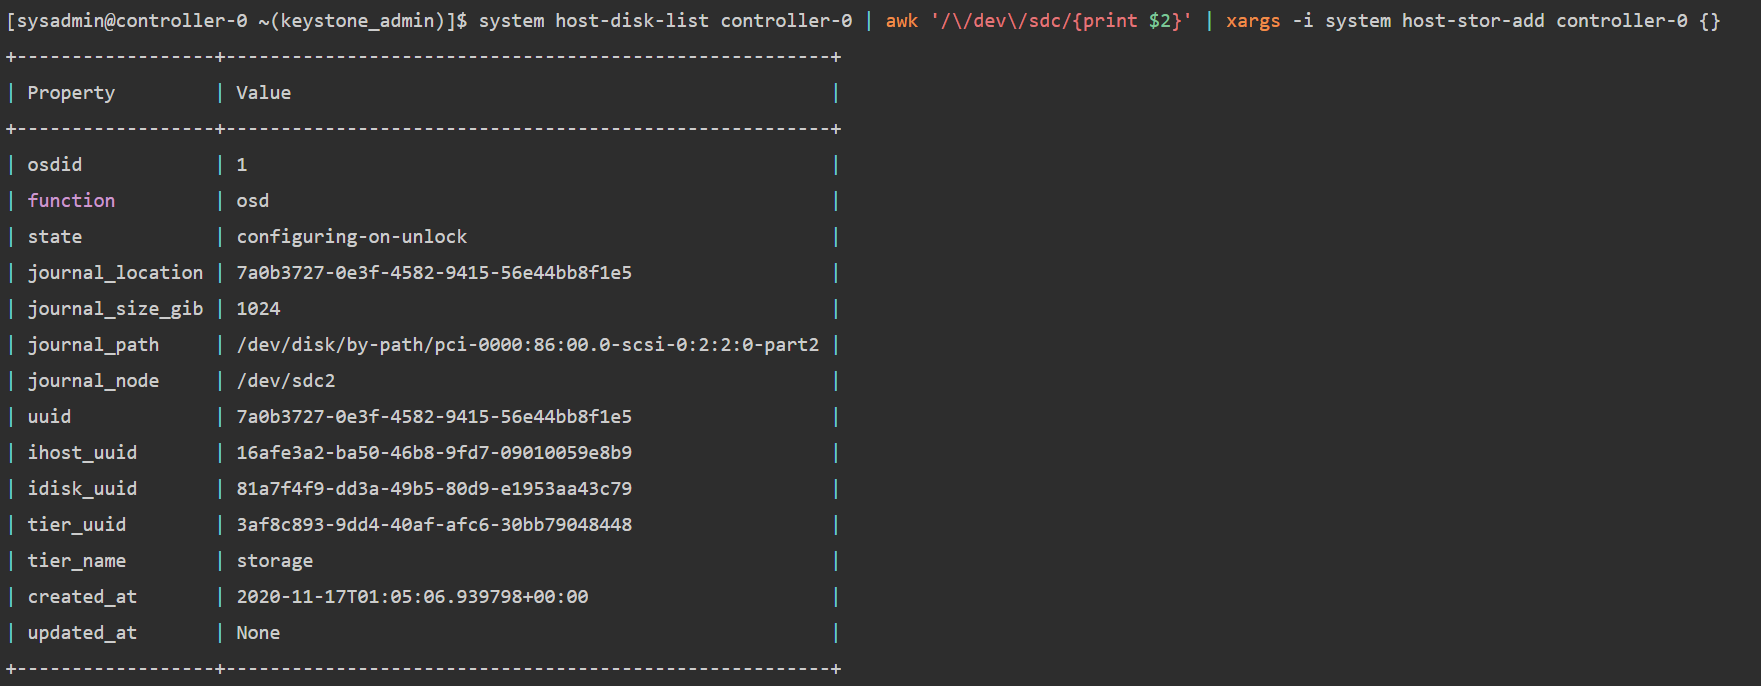
system host-stor-list controller-0

2.7 Unlock controller-0
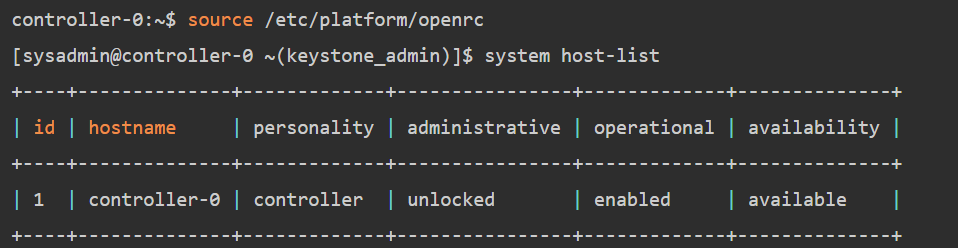
system host-unlock controller-0
...
source /etc/platform/openrc
system host-list
2 Installation for the second server (controller-1)
2.1 Power on the controller-1 server and force it to network boot


2.2 As controller-1 boots, a message appears on its console instructing you to configure the personality of the node
...
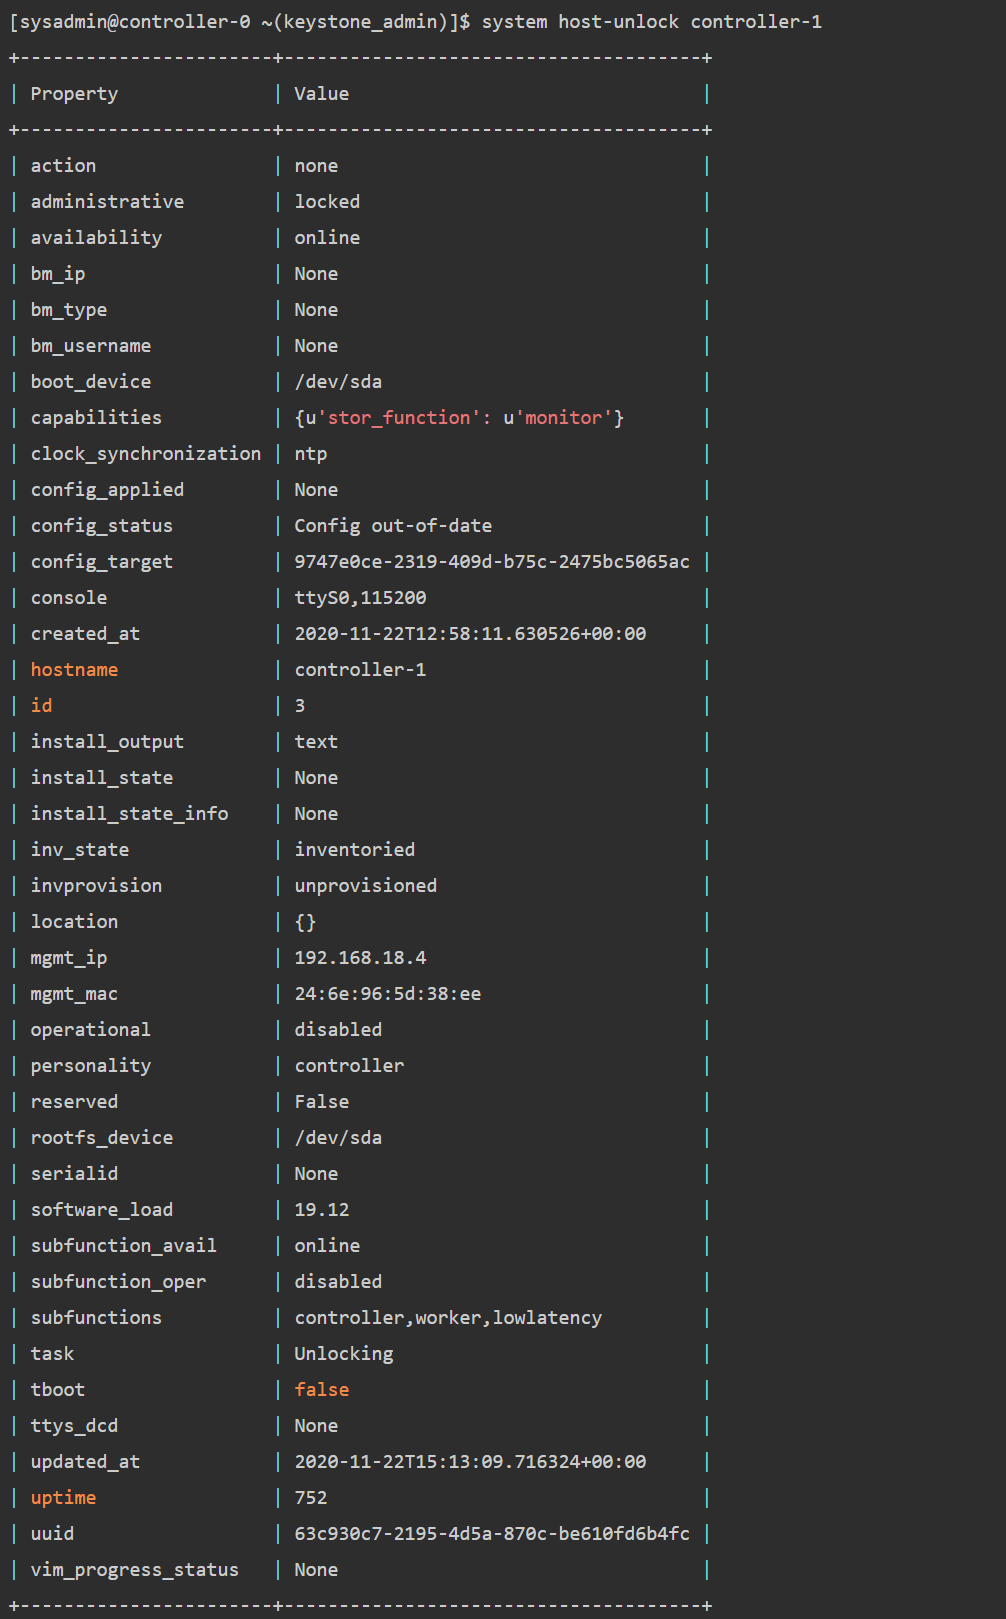
system host-unlock controller-1
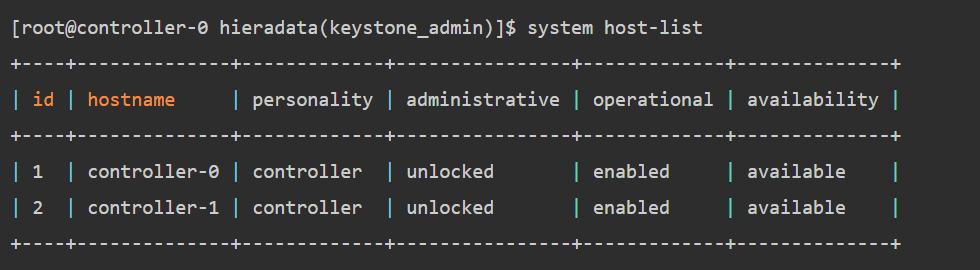
system host-list
3 High Availability status show
sm-dump
Use the sm-dump to show the status of 2 controller, it shows that services on controller-0 are in active mode, and services on controller-1 are in standby mode.
...